How to Get to Level 100 Easy
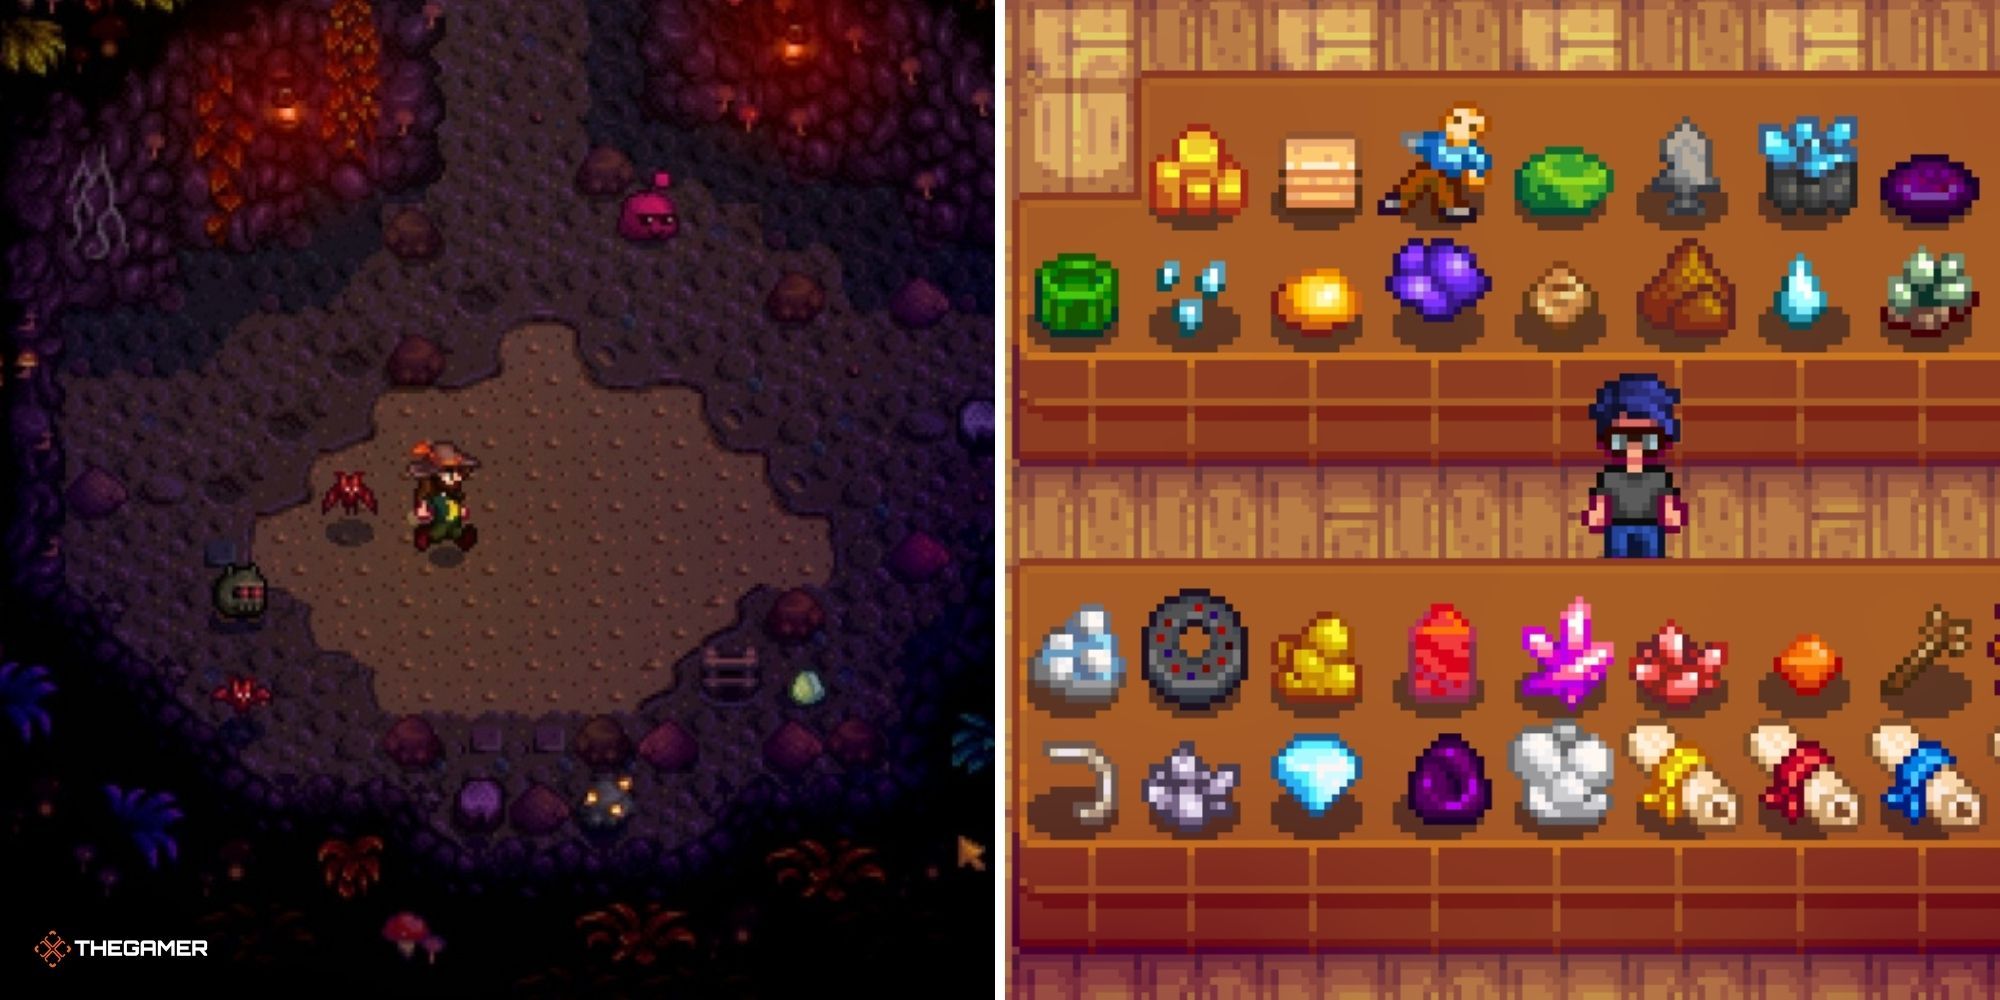
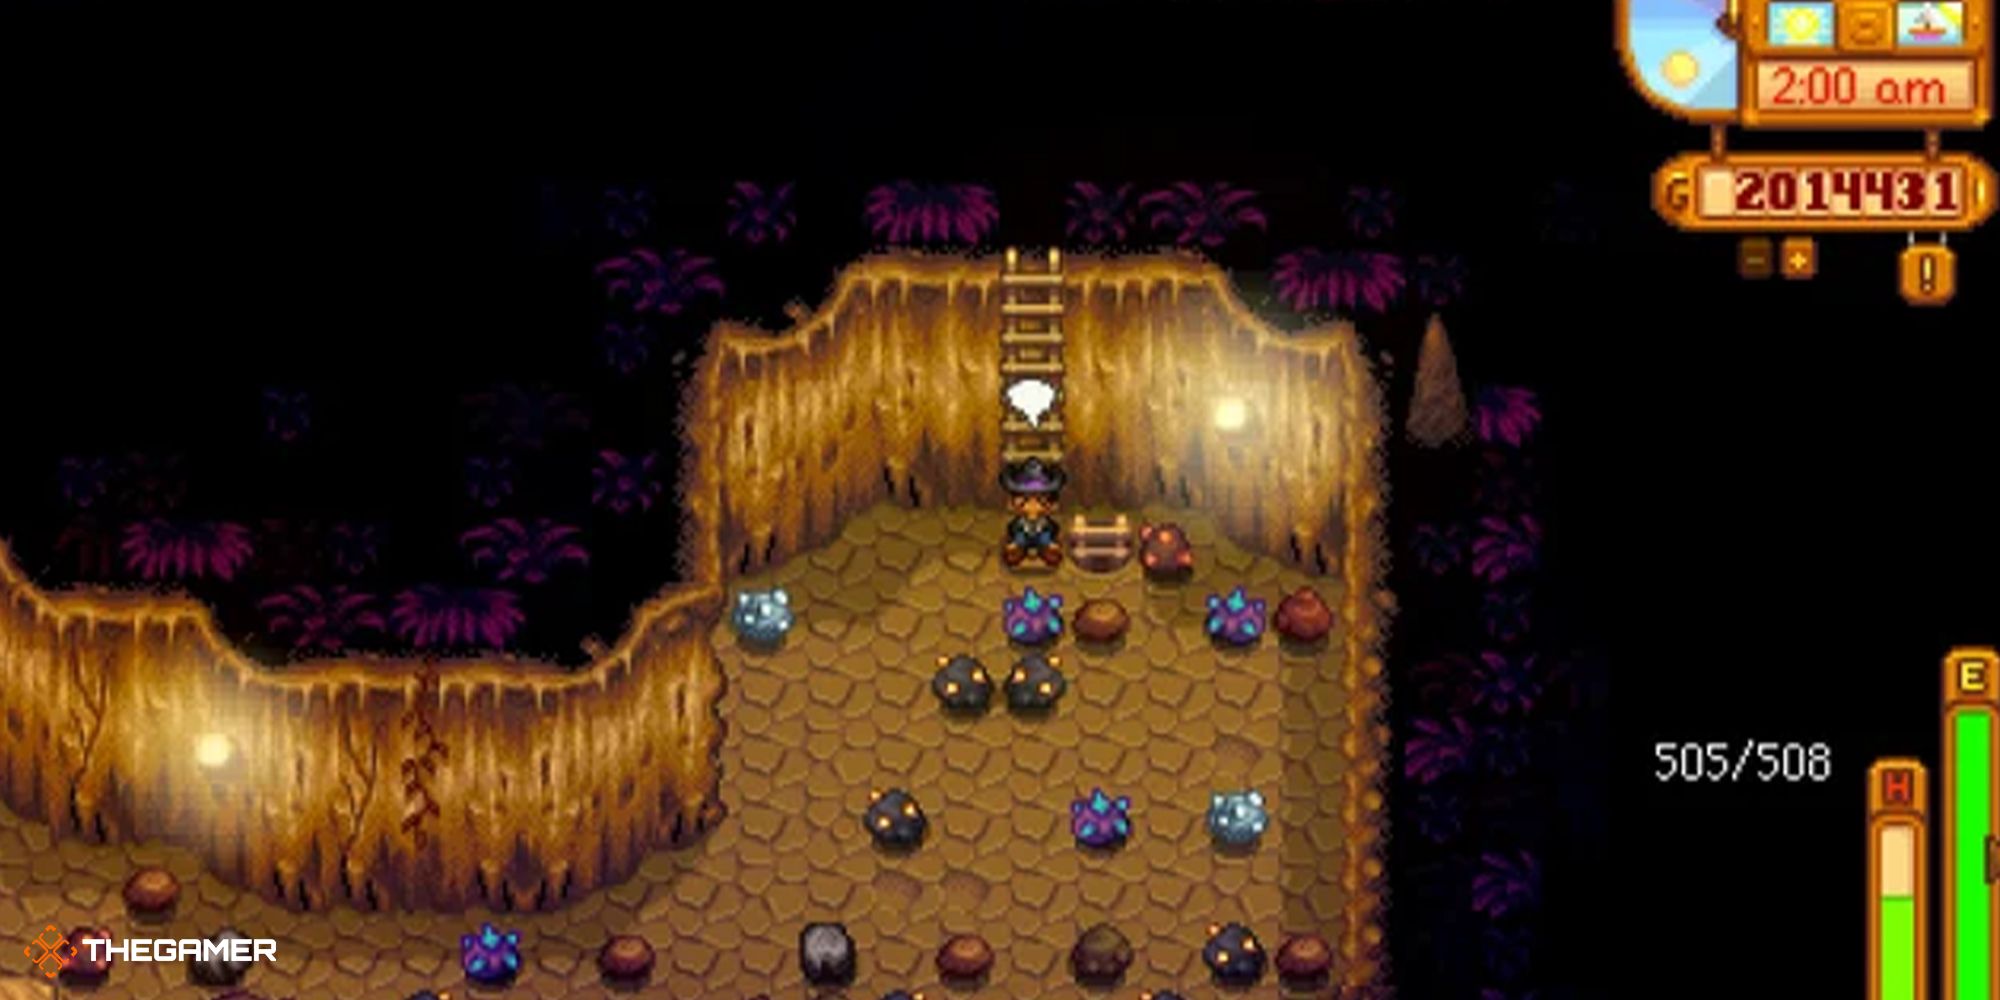
In Stardew Valley, there are three sets of mines that you can access. The first is the regular Mines in the north-eastern section of Pelican Town. However, reach the bottom of those mines, and the Skull Cavern will be unlocked. This new set of mines is virtually-bottomless and is located in the Calico Desert. Chances are, you won't be heading there in your first year on the farm, so be patient and get yourself established first.
A quest, given to you by Mr. Qi by way of a Secret Note, tasks them with reaching Level 100 for a reward. This is no easy feat. Skull Cavern is full of deadly enemies and obstacles. With these tips, though, you'll be digging your way down to Level 100 in no time.
Updated on June 25, 2022, by Gabrielle Huston: The Skull Cavern is undoubtedly one of the toughest challenges you'll face in Stardew Valley. Many players struggle to reach the bottom, where Mr. Qi is waiting for them. We've ensured this guide has all the information you need to make it!
3 Ensuring Your Equipment Is Up To Snuff
Upgrade And Enchant Your Tools And Weapons
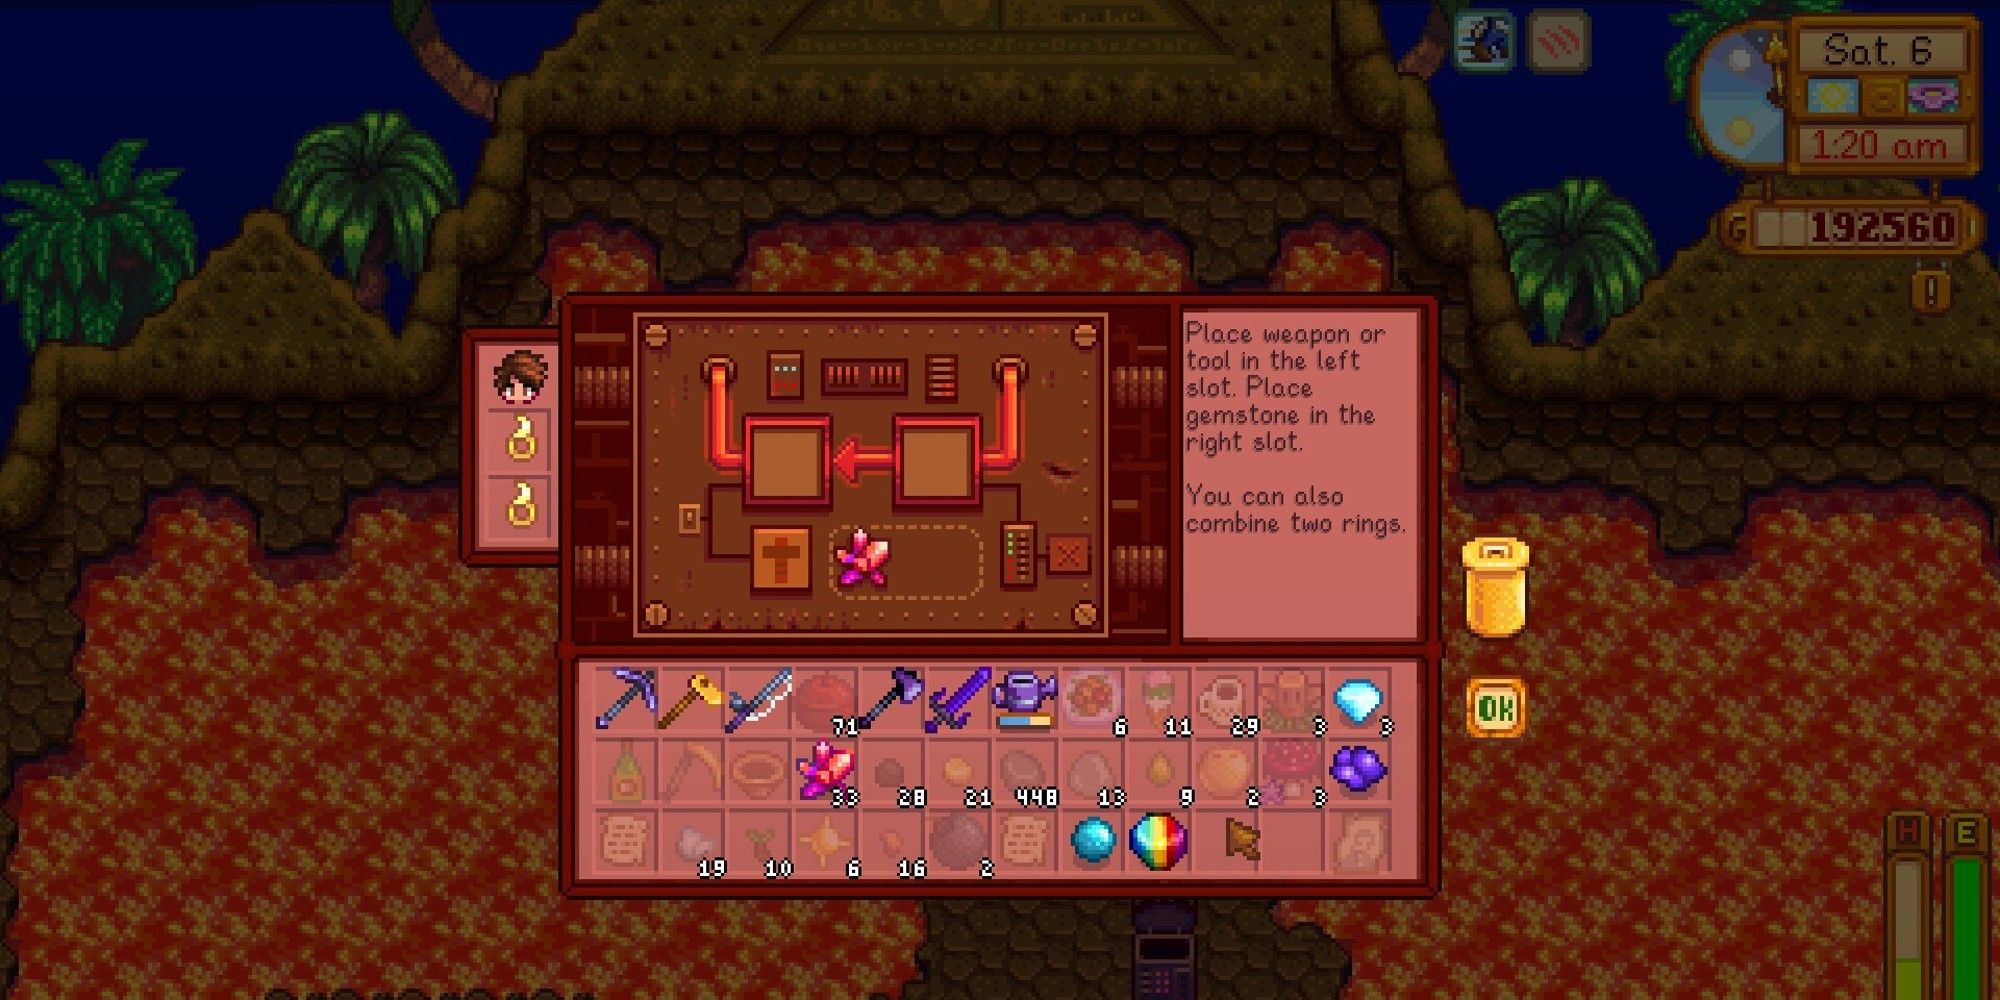
The new area, Ginger Island, that was added in the 1.5 update, has a new dungeon inside the Volcano. At the top of this Volcano, you'll find an interesting Forge. We have a detailed guide on the subject but, basically, you can enchant your weapons and tools, upgrade your weapons, and combine rings.
It goes without saying that you should upgrade your tools (but especially your pickaxe) all the way to Iridium level.
When it comes to your weapon, you can add a maximum of three upgrades, increasing in the cost of Cinder Shards each time you add one. You'll also need to pay with a gemstone, which determines the kind of upgrade you'll get:
| Gem | Upgrade |
|---|---|
| Amethyst | Adds one level of knockback per forge |
| Aquamarine | Adds a 4.6% chance for a critical hit for each level |
| Emerald | Increases speed by two on the first and third forge, and three on the second forge |
| Jade | Adds 10% to critical hit damage for each forge |
| Topaz | Adds one level of defense for each forge |
| Diamond | Only costs 10 Cinder Shards but fills all three forge slots with a random upgrade |
For the price of a Prismatic Shard and 20 Cinder Shards, you can add a random enchantment to any weapon or tool. You can only have one enchantment on the weapon/tool at a time. Paying another Prismatic Shard and 20 Cinder Shards allows you to reroll it, though.
Any of the weapon enchantments would be valuable:
| Enchantment | Effect |
|---|---|
| Artful | Cuts the cooldown time for special moves in half |
| Bug Killer | Does double damage to bug-like enemies like grubs and flies, and allows you to damage armored bugs |
| Crusader | Adds 50% bonus damage to mummies, ghosts, skeletons, and void spirits, and prevents mummies from reviving |
| Haymaker | Using your weapon to cut weeds gives more fiber as well as a chance to find hay |
| Vampiric | Gives a 9% chance to regain some health on a successful monster kill |
While the Pickaxe enchantments are probably the most important tool ones:
| Enchantment | Effect |
|---|---|
| Efficient | No stamina drain |
| Powerful | Adds 1 extra power level |
| Swift | Tool use is 33% faster |
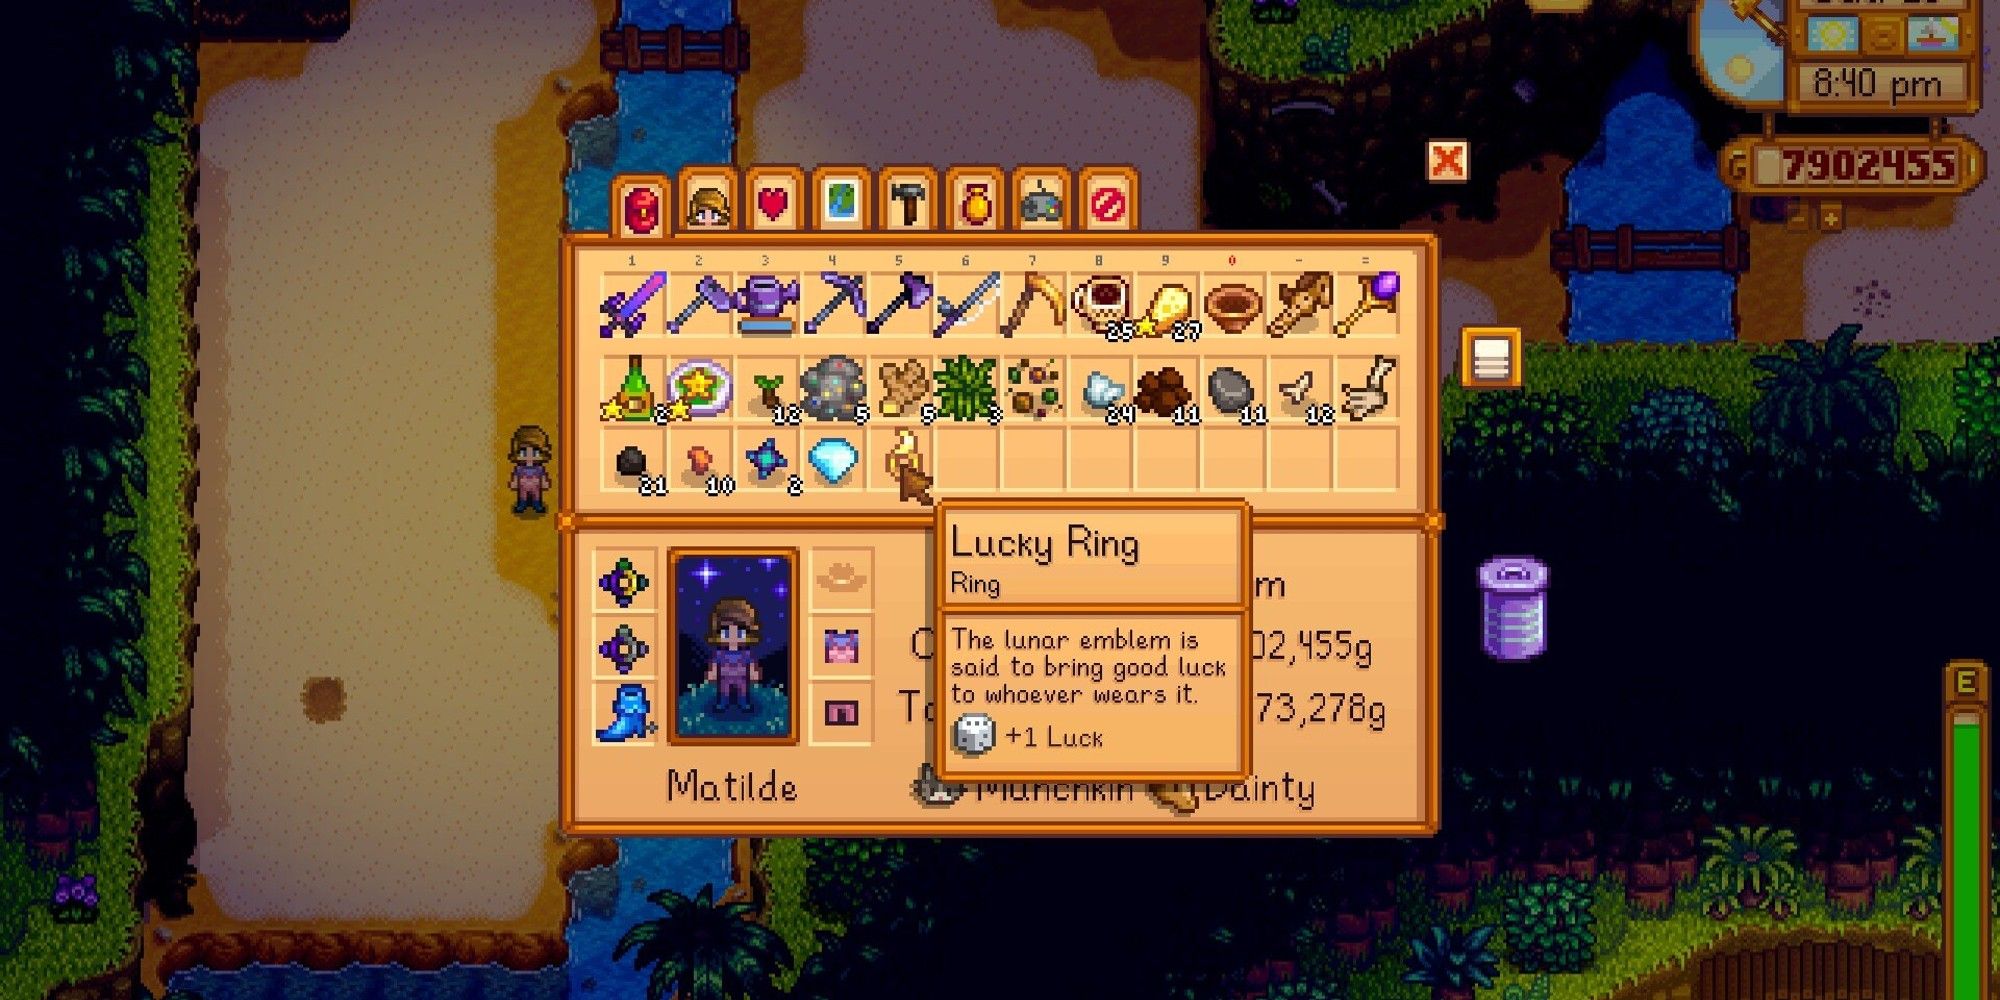
Equip (& Combine) The Right Rings
There are a variety of rings available, with a wide array of effects. Many of them are incredibly helpful when mining. Some great choices to bring when trying to reach Skull Cavern's 100th level are the Iridium Band, Crabshell Ring, and Slime Charmer Ring:
| Ring | Buff | How To Craft It | How To Buy One |
|---|---|---|---|
| Iridium Band |
| Recipe recieved at Combat Level 9 Crafting Ingredients:
| N/A, but small chance of appearing in Fishing Treasure chests |
| Crabshell Ring |
| N/A | Bought from the adventurer's guild for 15,000g after killing 60 Crabs |
| Slime Charmer Ring |
| N/A | Bought from the adventurer's guild for 25,000g after killing 1000 Slimes |
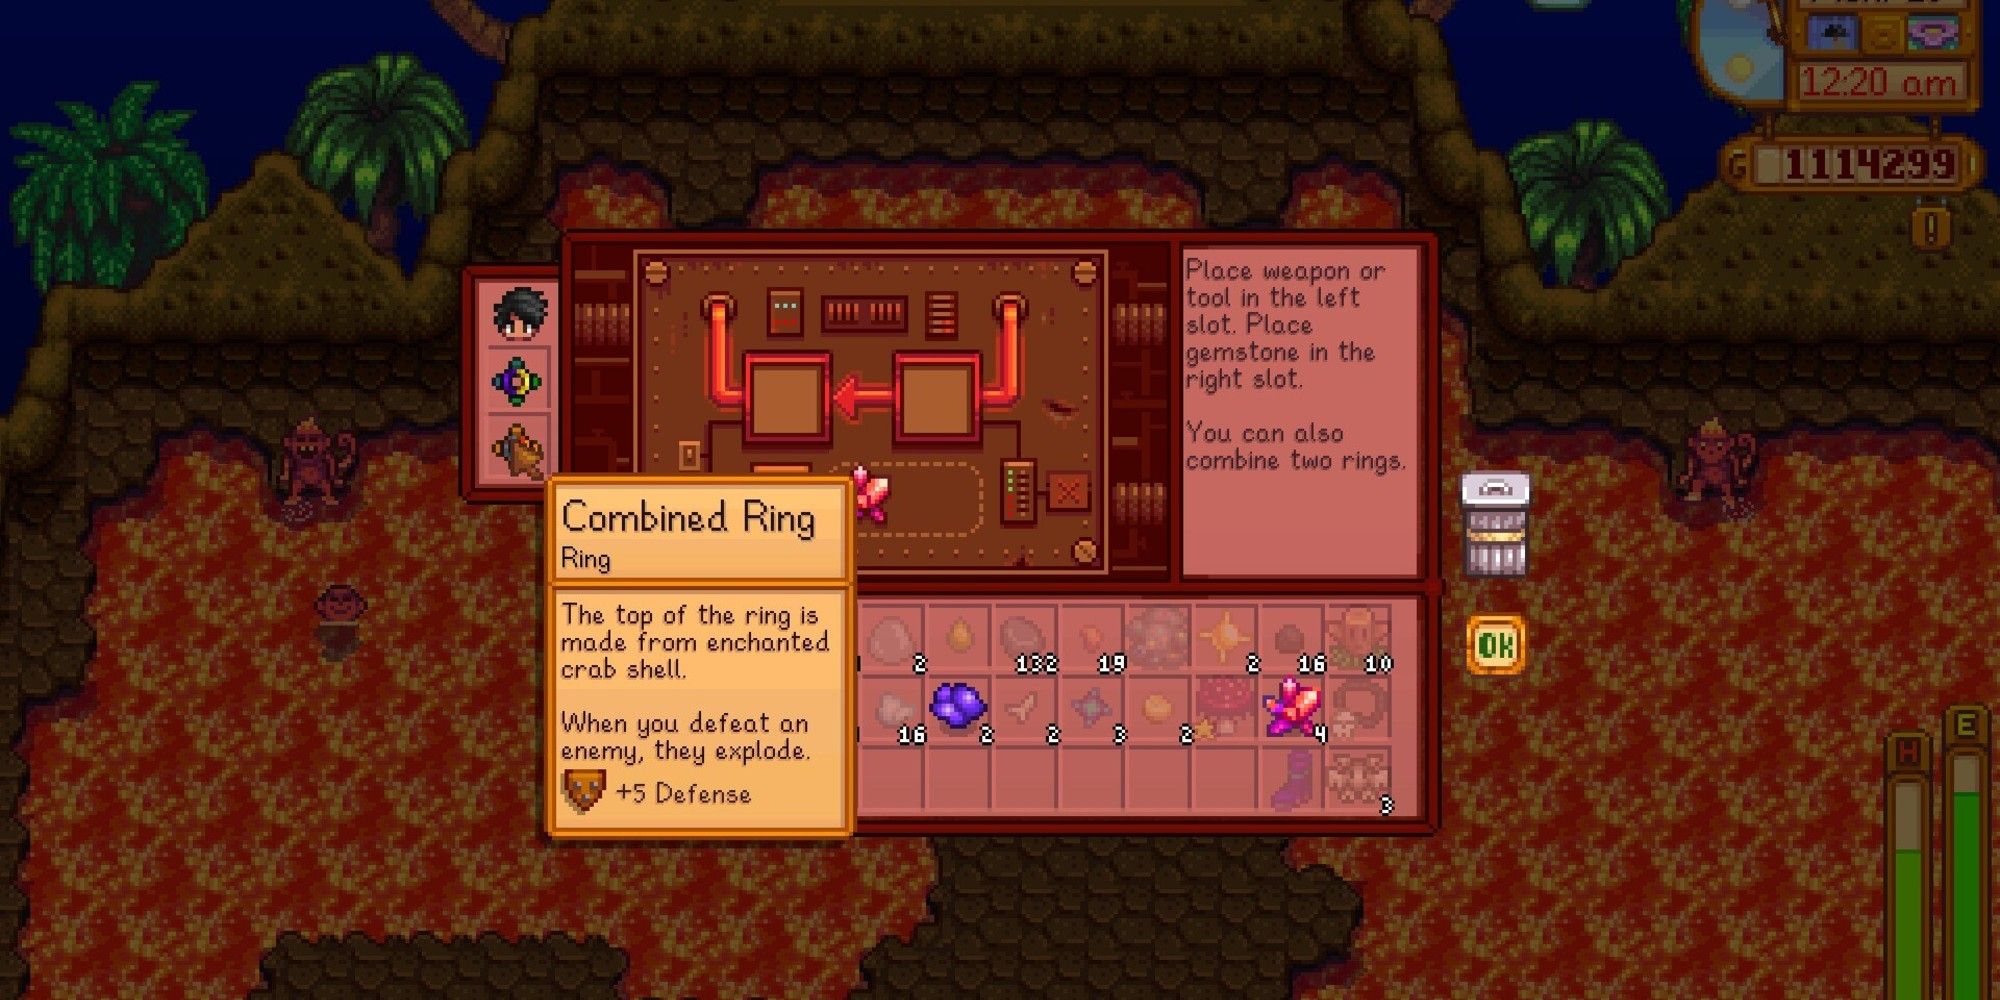
If you can't decide which rings to equip in the Skull Cavern, the Volcano Forge can help you out there, too. The Forge allows you to combine two rings into one, creating a combination ring with the effects of both. This costs 20 Cinder Shards each time.
Since you can wear two rings at a time, this means you can equip the effects of four total rings. Whether you use this to increase your Luck stat, defense, or anything else, it's a very powerful way to help survive Skull Cavern and reach the 100th floor faster.
Bring A Galaxy Weapon (Or, Ideally, An Infinity Weapon)
Since there will be countless enemies standing between you and Level 100, you'll have to slay many of them to find the ladder. The onslaught of flying Serpents will take away your health extremely quickly if you can't fend them off. You'd better be well-armed.
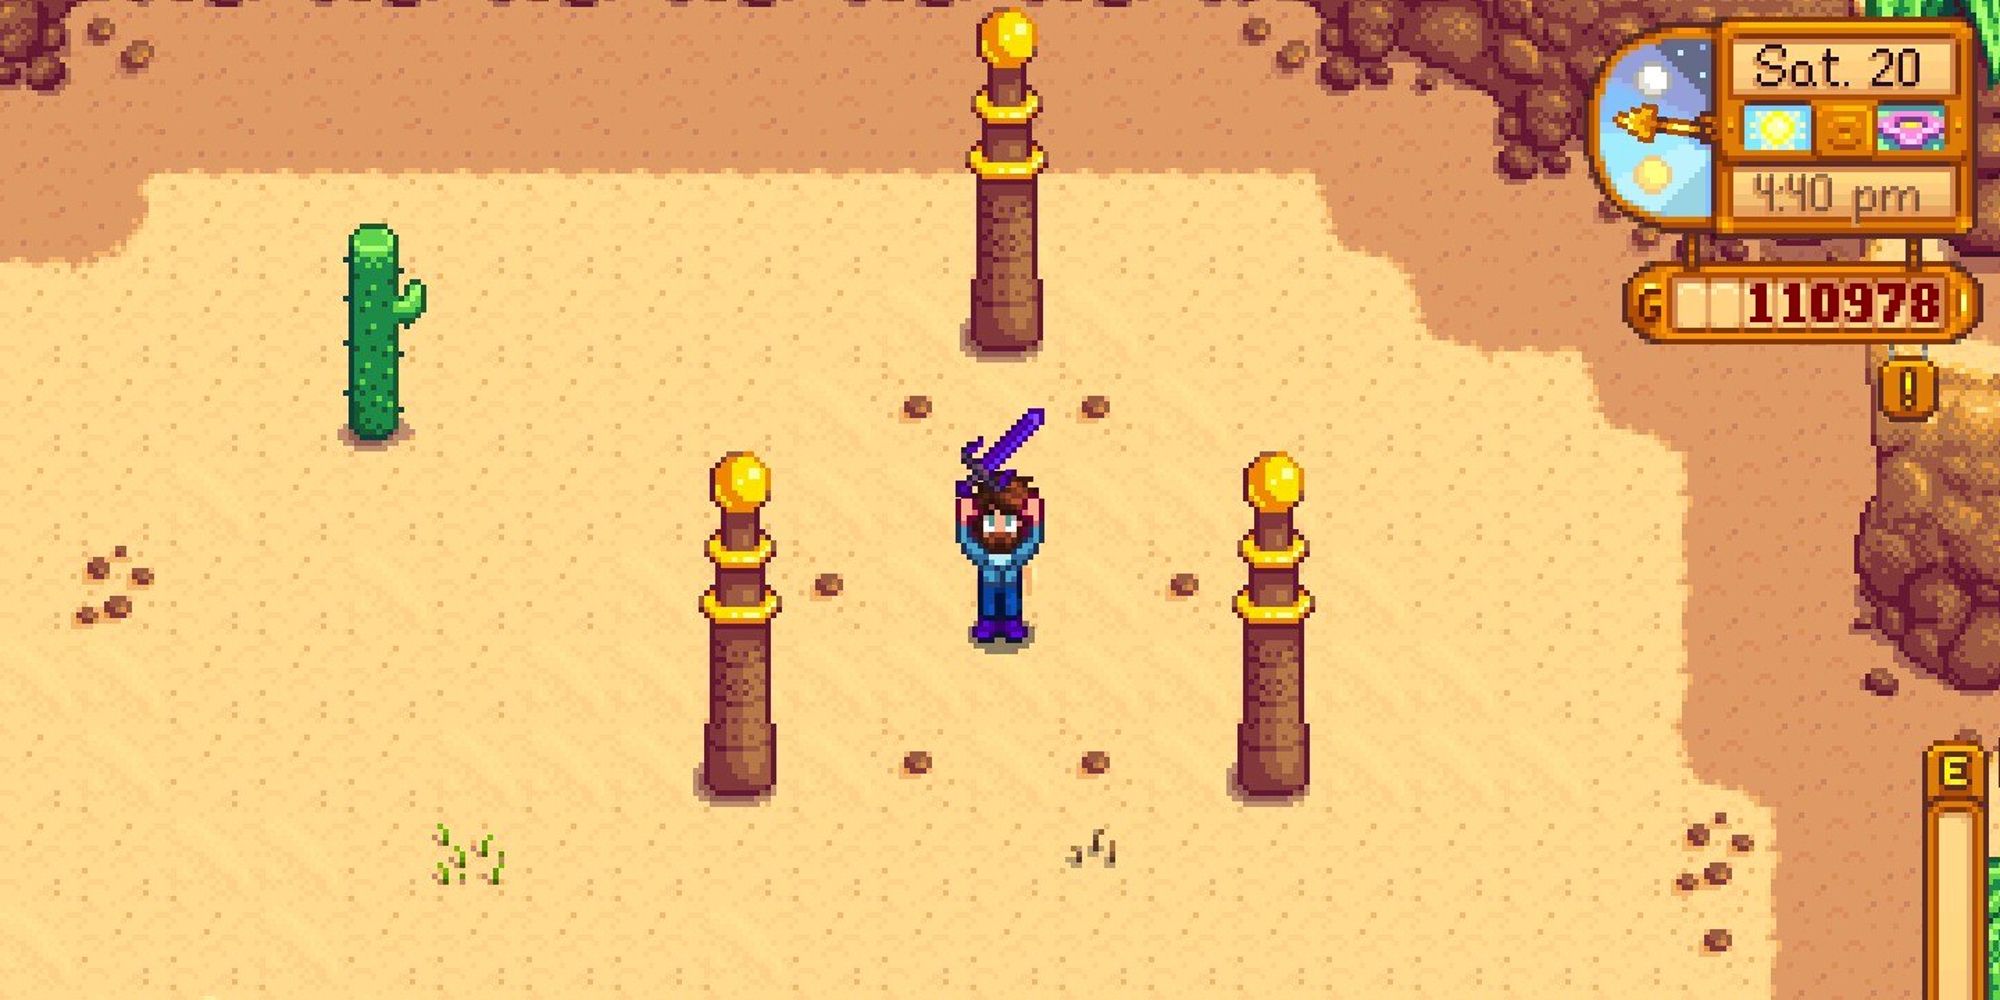
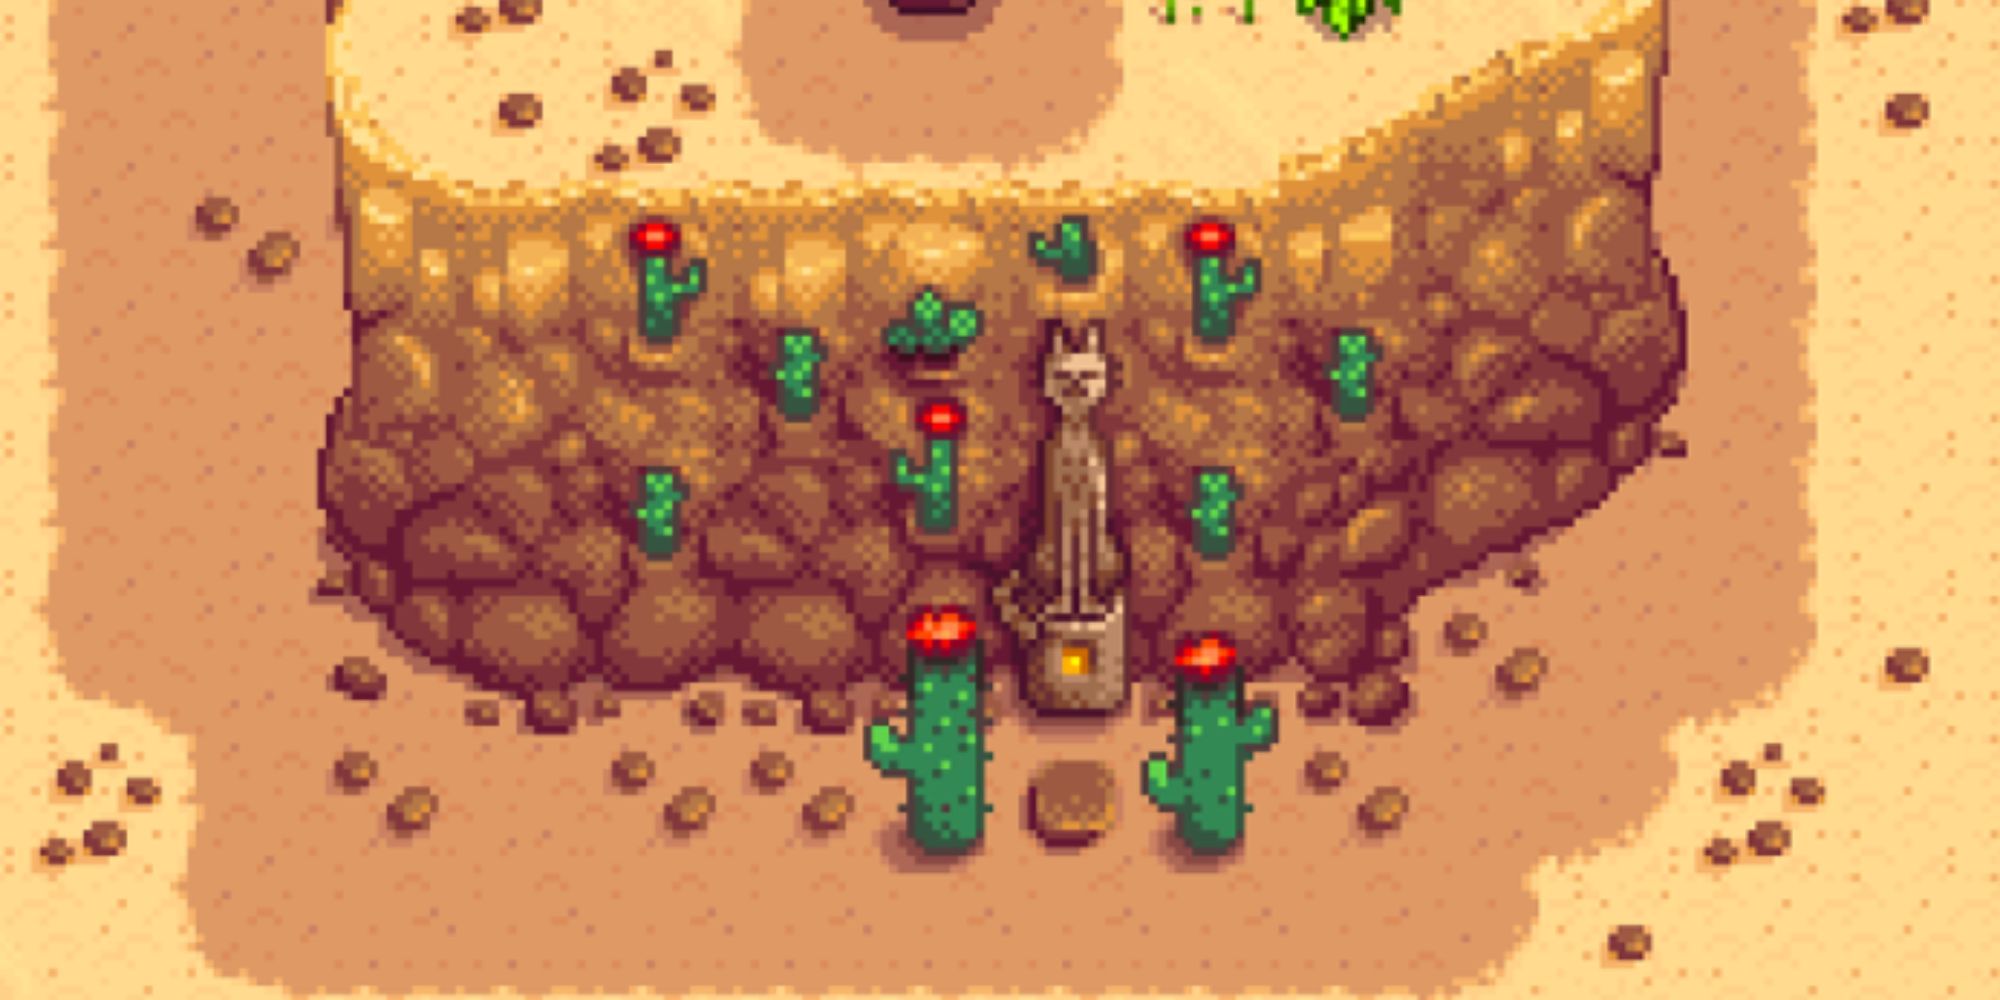
The Galaxy Sword is granted by a mysterious entity when you hold up a Prismatic Shard in between the three pillars in Calico Desert. A Prismatic Shard is hard to find, but the Galaxy Sword is worth the hunt. Once you have it, if you prefer Hammer weapons (slower, but more damage) or Dagger weapons (faster, but less damage), you can buy the Galaxy Hammer and the Galaxy Dagger at the Adventurer's Guild.
Now, the Galaxy weapons may seem incredible by themselves, but they can actually be improved, believe it or not! You can upgrade them at the Volcano Forge. Simply combine them with three Galaxy Souls (obtained from Qi's Walnut Room mainly, or the Island Trader) and 60 Cinder Shards to create the Infinity weapons (the Infinity Blade, Infinity Gavel, or Infinity Dagger).
Get The Space Boots
Not only is the perfect weapon crucial to reaching level 100, but the proper defense is just as important to keep in mind. The strongest footwear in the game is arguably the Space Boots, which can be found in a chest on level 110 of the regular Mines. The Space Boots have the highest Defense value in the game (+4), as well as the second-highest Immunity value (also +4).
The only shoes that have higher Immunity are the Genie Shoes (with a +6 boost), though they come with a measly +1 boost to Defense. After the Space Boots are found they can be purchased for 5,000 gold at the Adventurer's Guild. Like most clothing, the boots can be tailored to look like other shoes while keeping their stat increases. This is quite helpful if you're not a fan of the purple color.
2 Planning Your Trip
Bring Lots of Staircases
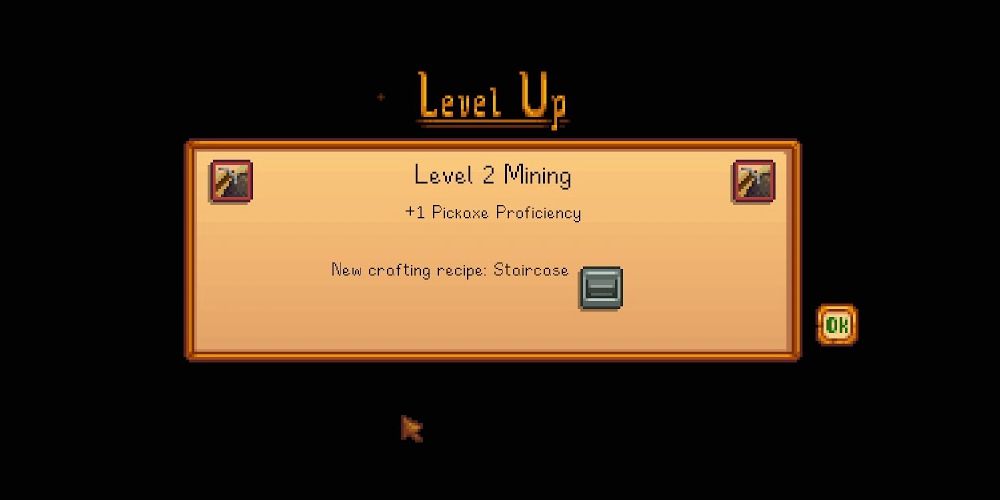
Stone, one of the resource materials in Stardew, can be crafted into staircases. This crafting recipe is unlocked at Mining Level 2, which you should already be well past if you're tackling Skull Cavern. Staircases can be crafted with 99 stone, or by trading one Jade to the Desert Trader on Sundays.
These staircases create an immediate entry point to the next level of the mines. Stack a ton of them and bring 'em to Skull Cavern, as you'll be able to use it to descend quickly or escape tough monster fights. Beware, though, Mr. Qi will be disappointed if you use a staircase more than 10 times. It won't affect your reward, though, just the dialogue.
Go On A Lucky Day
Each day, you're given a random level of Luck. You can find out what your daily Luck is by checking the Fortune Teller channel on a TV in your house.
Daily Luck determines a variety of things, but the most important in this context being:
- how likely you are to discover the ladder
- the rate at which gem nodes appear
- the rate at which ores drop
- how many items you lose if you die
You'll have the best chance at going far in Skull Cavern if you go on a lucky day. When the Fortune Teller says the spirits will "do their best to shower everyone with good fortune" or that "you'll have a little extra luck," those are the luckier days - don't bother to try on less lucky days.
Get The Special Charm
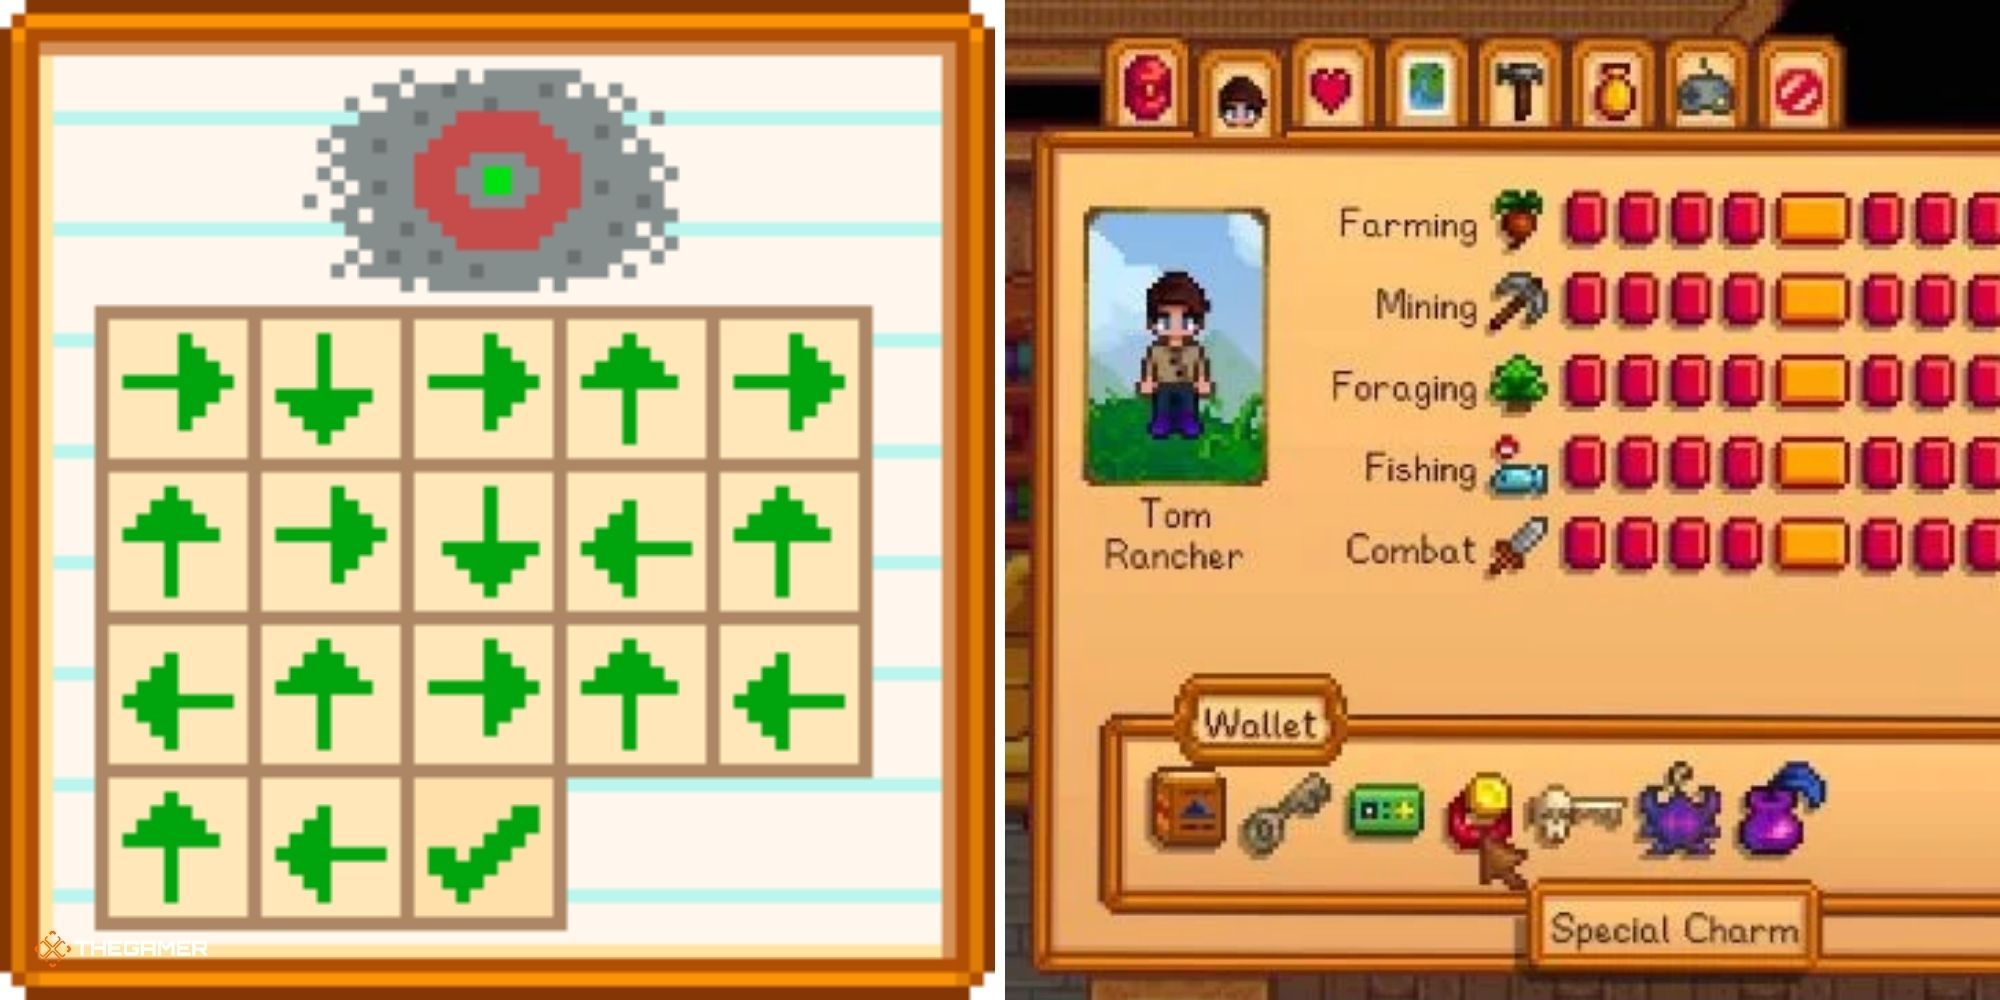
The Luck stat may fluctuate from day to day, but it is not entirely out of your control. Besides eating foods that give a temporary buff to Luck, a special item called the Special Charm can be obtained that permanently increases your Luck by 0.025. Getting this charm requires you to find and read Secret Note #20, which will reveal the location necessary to obtain the charm.
Organize Your Inventory
In the heat of the moment, one press of a button can mean the difference between escaping or fainting. Organizing your inventory in such a way that you can access your weapon, pickaxe, and bombs with one or two presses of a button will lessen the chance of being caught off-guard by a monster.
Furthermore, having food accessible with one click will keep you alive and full of energy. Not only will enemies such as Serpents attack you relentlessly, but using bombs and falling down holes to progress quickly will rapidly deplete your health. It's important to keep a close eye on how your character is faring.
Make Or Buy Bombs
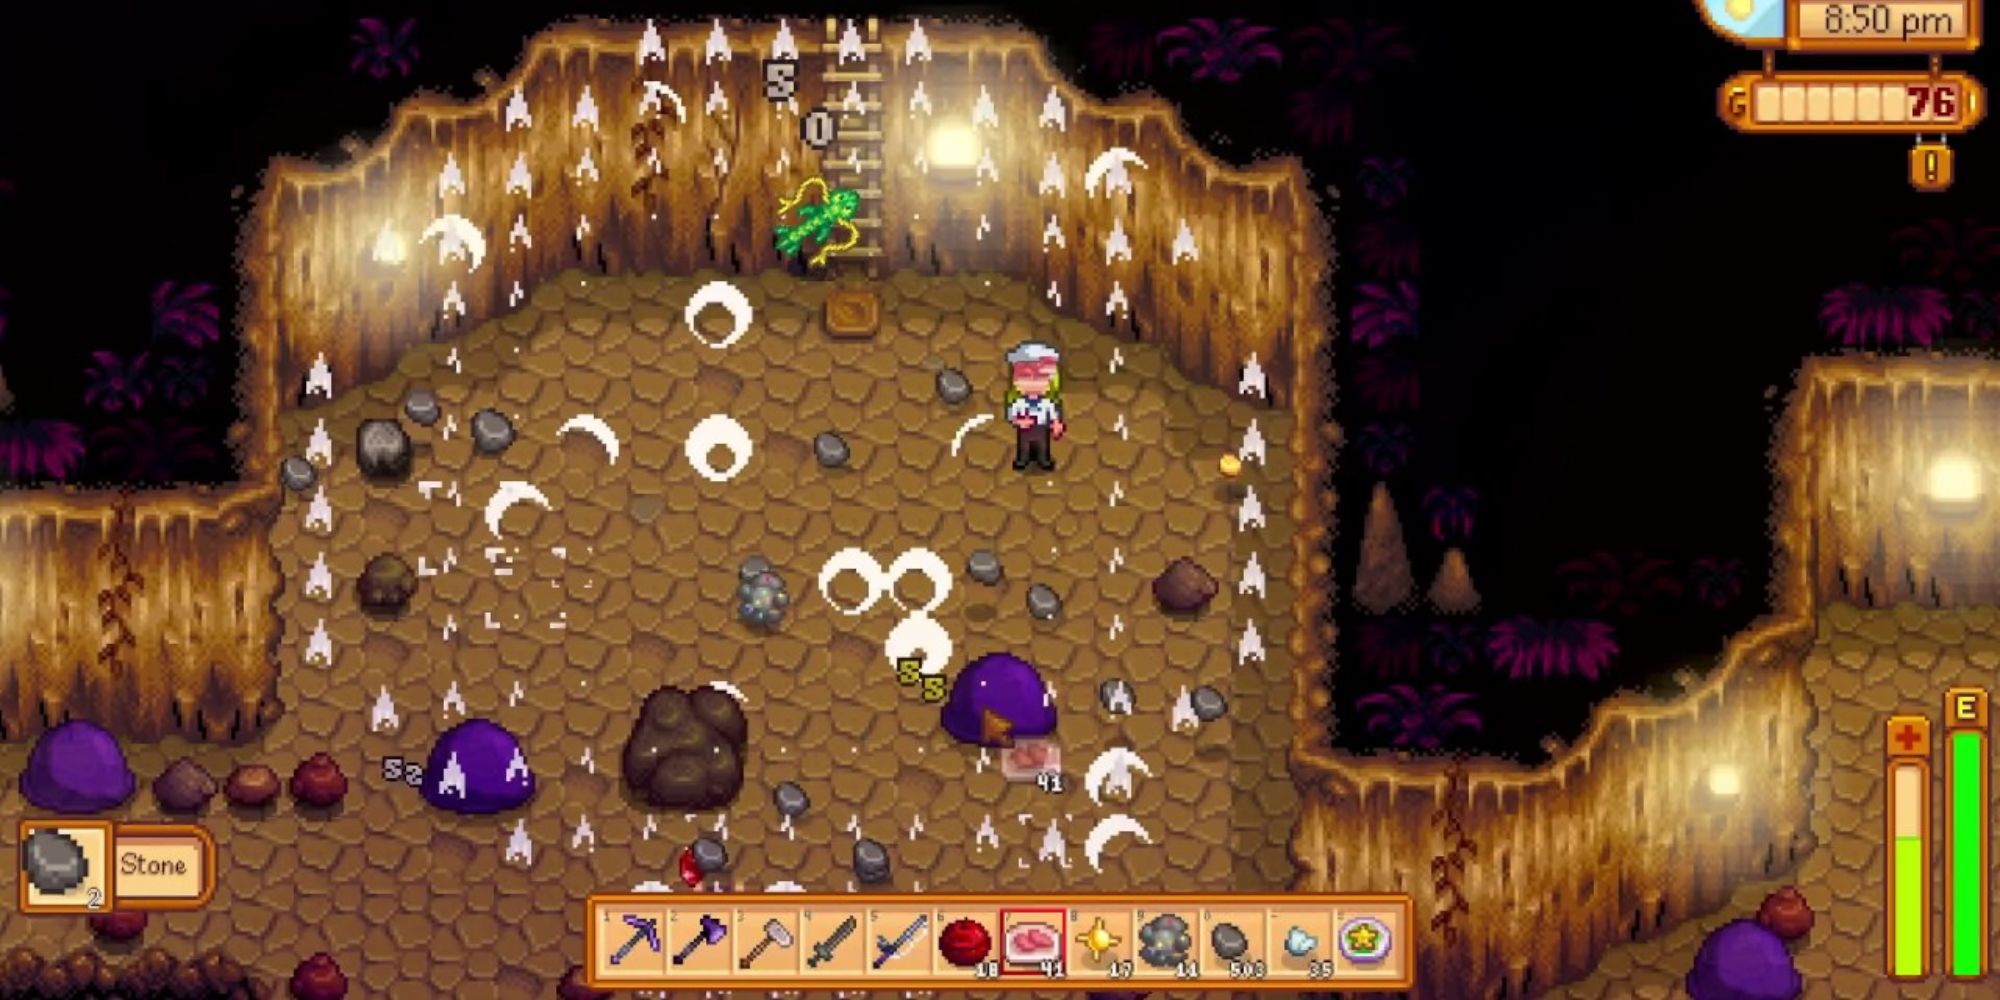
Rather than wasting time and energy using your Pickaxe on every rock until you find the ladder, it's wise to consider just bombing the place. There are three levels of explosives that can be placed:
| Bomb | Recipe Unlocked At Mining Level... | Ingredients Needed | Explosion Radius |
|---|---|---|---|
| Cherry Bomb | 1 |
| 3 |
| Bomb | 6 |
| 5 |
| Mega Bomb | 8 |
| 6-8 |
These bombs will make quick work of the rocks and will typically help find the ladder much quicker than breaking them one-by-one with a Pickaxe. Stack a ton of these bombs and bring them with you.
If you don't want to waste precious resources crafting Bombs, all three types are available for purchase from...
- the Dwarf who resides in Pelican Town's Mines
- the Dwarf that is found on level 5 of the Volcano Dungeon
...but you'll need to be able to speak the Dwarf language, first.
Cherry Bombs are 300 gold each, regular Bombs are 600, and Mega Bombs are 1,000 gold. This will save you from having to collect or buy coal and ores from Clint, as well as wasting precious Void Essences and Solar Essences.
Cook Some Food
Food is invaluable for mining in Stardew. Mining takes a ton of energy and enemies found in the mines will deplete your health bar quickly if you aren't extremely careful. Most dishes restore both health and energy, but it's the extra buffs that matter here.
Speed, Defense, and Luck are some of the most important stats to keep watch of when descending to Level 100.
- Coffee and Triple Shot Espresso will both increase Speed
- Pumpkin Soup increases Defense and Luck
- Spicy Eel increases Luck and Speed
- Lucky Lunch and Ginger Ale will both increase Luck
These are some of the best dishes to bring, but there are a ton of other options.
It's important to note that you can have the buffs from a beverage and a food item active at the same time. This means you can consume both Spicy Eel and Coffee at once to really power your farmer's speed, or consume a Lucky Lunch and some Ginger Ale to apply two separate Luck buffs simultaneously.
1 During Your Trip
Go Early
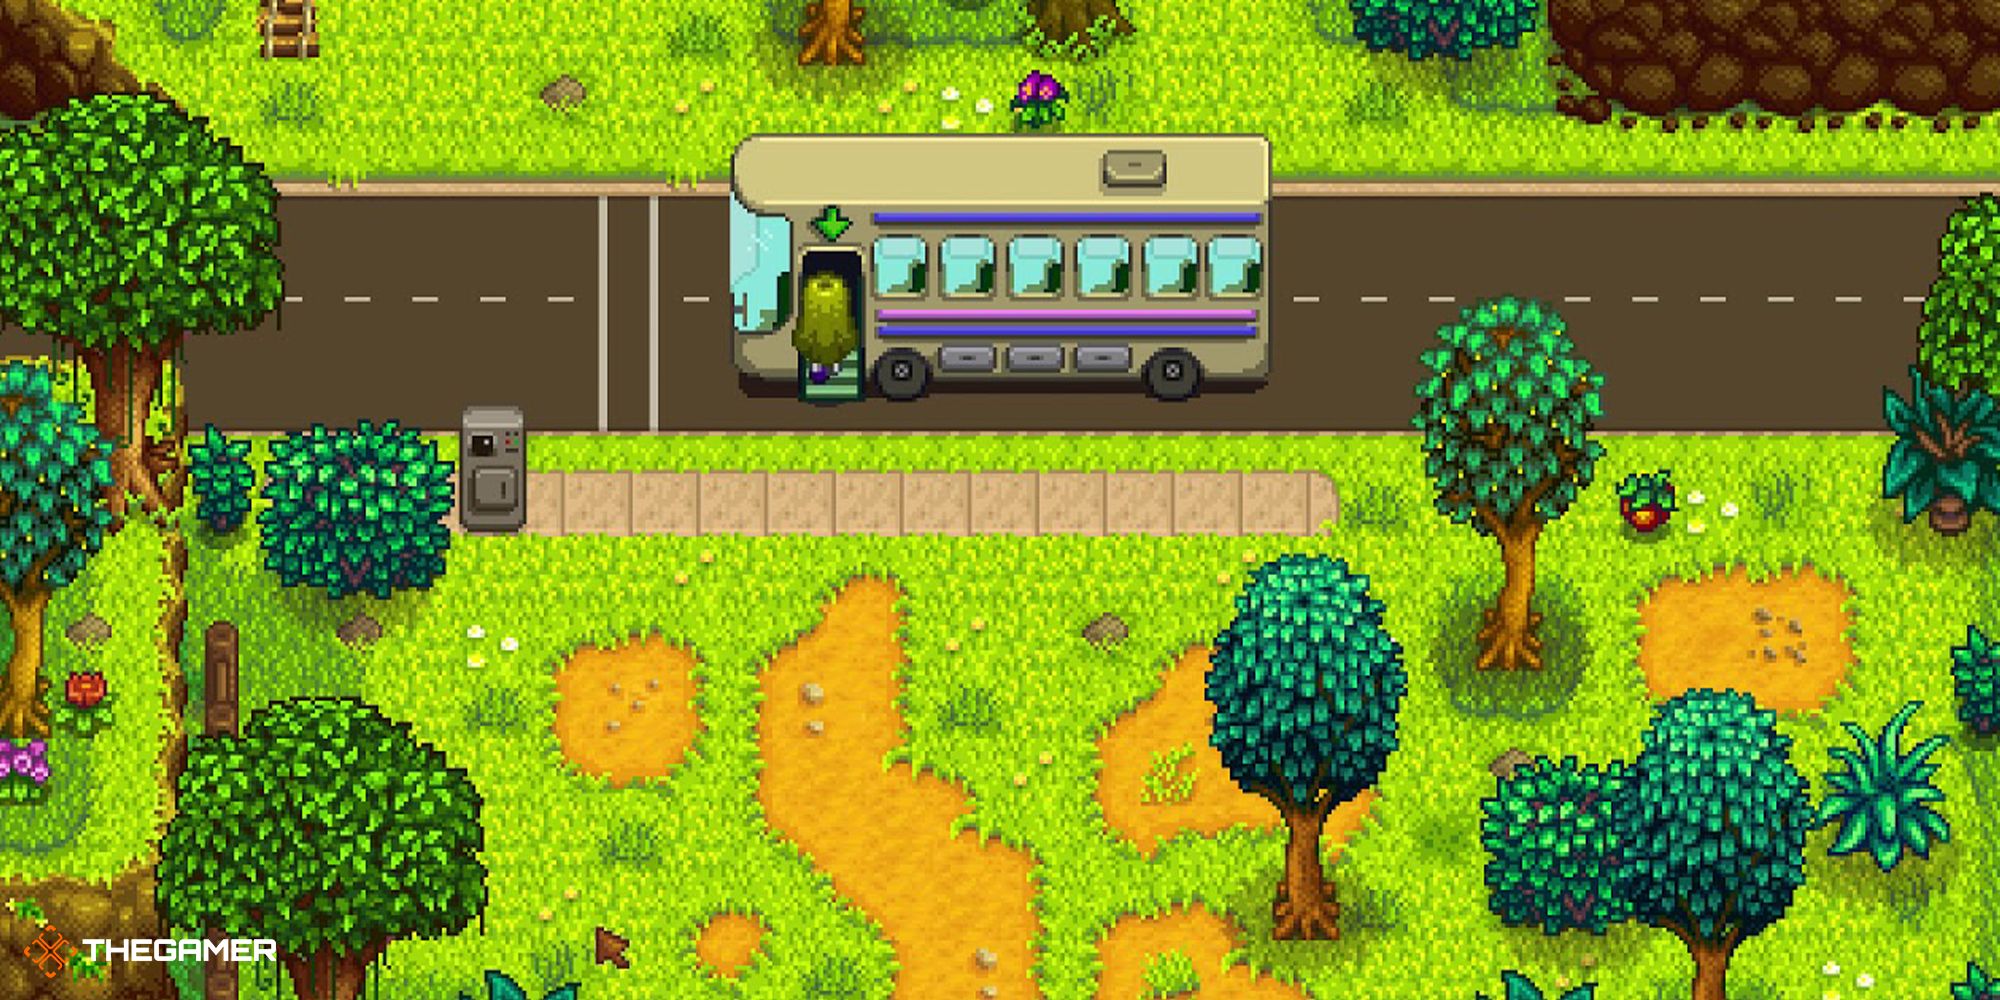
Time is of the essence when trying to reach deeper into Skull Cavern. Many attempts are foiled by the clock running out in the day before reaching Level 100. You'll want to make sure you head to the Calico Desert as early as possible.
A Desert Warp Totem will teleport you straight there, as will the Desert Obelisk. But, if you want to take the bus, you'll have to wait until 10 a.m. when Pam arrives. You can actually stand in front of her while she heads to the Bus Stop and she'll get frustrated and walk faster, saving you a few minutes.
Use Warp Totems Both Ways
A good strategy is to prepare your inventory the night before and check your daily fortune on the TV first thing the next day. If you happen to have good luck, immediately use your Desert Warp Totem or Desert Obelisk to save precious time better spent in the mines. By warping to the Desert, you can start tackling Skull Cavern shortly after 6 a.m., whereas taking the bus will get you there a few hours later.
If you feel you might not make it to level 100 before 2 a.m., having a Farm Totem (or the Return Scepter) will ensure that you don't pass out deep underground. Simply warp back to your farm instead of trying to rush taking the bus. This also allows you the extra few minutes of trying to push the last few floors, rather than needing to leave around 1 a.m. or so to catch the bus in time.
Don't Bother Trying To Make It Home
Instead of trying to rush home if you don't make it to level 100, just pass out in Skull Cavern (if you have the financial means to). Passing out at 2 a.m. just causes you to lose a bit of money, and to wake up with less energy. Other than that, there's no real consequence (unlike dying, which has severe consequences). If it's 1 a.m. and you're on floor 95, why not just try to push the rest of the way? If you pass out on 98, just try again the next day or whenever you can.
Additionally, just pushing yourself to 2 a.m. instead of rushing back to the bus will give you a bit of extra time to collect some resources. Of course, if you have other things to do the next day that you need energy for, or you're broke, this isn't the best strategy. But, if you have the means to do so, just push as far as you can, have your nap underground if you don't make it to 100, and try again.
Ignore Everything
than wasting time with fighting enemies, ignore them as much as possible. If they're attacking you, defend yourself, but avoid them as much as you can. Just ignore them and look for the staircase, or you'll never get to Level 100 in time.
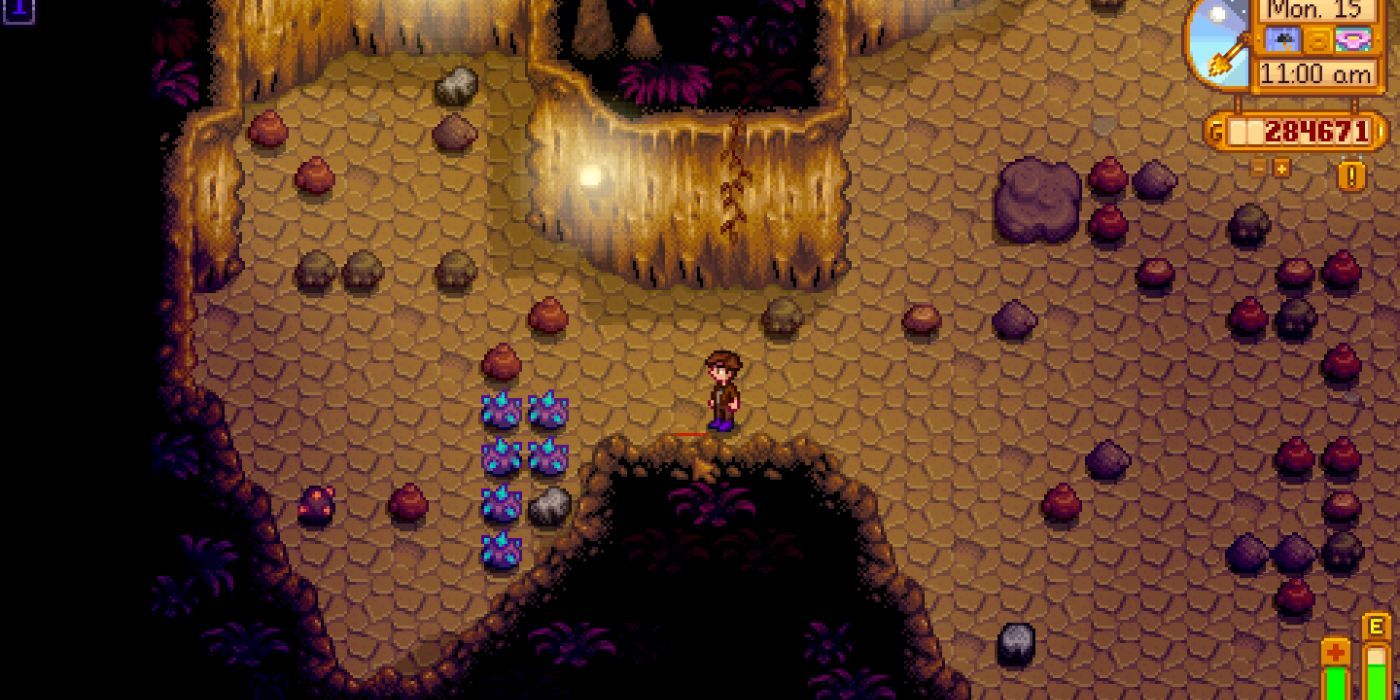
While you're at it, you also have to learn to ignore the Ore nodes scattered around, as well as boxes that can be broken open and coal carts. All of these things are distractions and will waste your time if you're trying to descend quickly.
On the lower levels, you can probably spend a bit of time cracking open Iridium Nodes and collecting Prismatic Shards if you need to, but otherwise, ignore everything else and find those ladders.
Skip Large Floors
There are a few different "shapes" that the Skull Cavern floors can take. Most of them are fairly easy to navigate the entirety of in a short amount of time. But, some of them are rather large and have a lot of walls, like one that somewhat spirals toward the center.
Instead of wasting time walking around these floors, consider using a staircase to just skip them. You can use up a ton of time trying to find the ladder on these floors, all while being pummeled by enemies. This is also an advisable plan for the floors that are infested with monsters.
Source: https://www.thegamer.com/stardew-valley-skull-cavern-level-100-tips-tricks/